Comics 101 for 05/29/2003 Star Wars Insider #66 - The Art of Shaak Ti -- Week Five: Color Steps Part Four and the Final
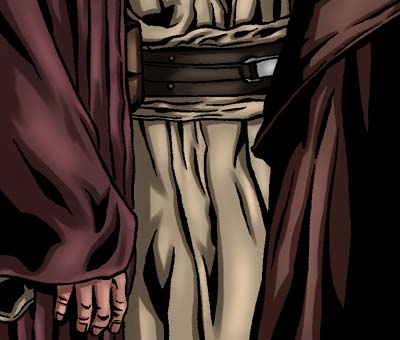
I continue the rendering of adding highlights with the Dodge tool (set for a relatively low opacity in the Options menu) in Photoshop to the Jedi robes on Mace Windu and Plo Koon. Once the light areas are added to give my characters volume I often like going back into my highlighted and shaded areas with the Color Airbrush tool (located in the Options menu under the pull down 'Mode' menu for the tool) and add subtle warm color to my light areas and subtle cool colors to my shadows (again setting my tool for relatively low opacity).
Color Step 10
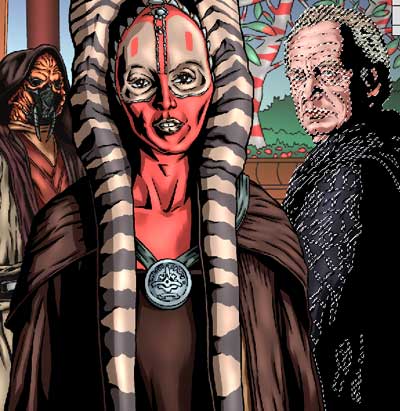
Once all of my characters are rendered in their full values, I begin selecting the black inked line of the background characters, starting first with Palpatine, by making a general selection around all of the character's black line with the Polygon Lasso tool. Then I go to Select>Color Range in my File menu at the top of the screen, set the 'fuzziness' for 0 and then hit OK. All the black line pixels for the character are selected and I choose to fill his outline with dark color gradient (using the Gradient tool with the active selection) as opposed to keeping it solid back. With the colored outline, this will push his character back in space from the foreground and gives the illusion of more depth in the scene between the characters.
Shaak Ti Color Step 11
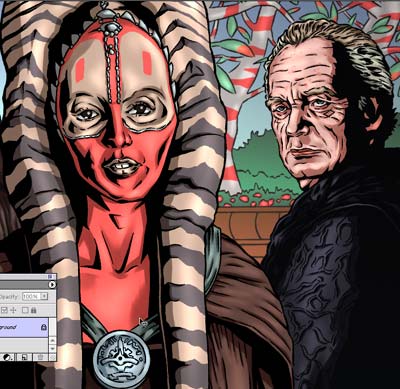
Shaak Ti Color Step 12
I use the same technique for filling in the black line on Mace Windu and Plo Koon but with even slightly lighter dark gradients since they are abit further in the background and the lighter line makes them feel further away.
Once the inked lines are colored with dark gradients for these background characters I go back and carefully select each one individually using a combination of selection tools like the Polygon Lasso tool and the Magic Wand. I give each character a slight blur (less or more depending on the position of each character to the foreground of the scene) by going to the Filter menu and choosing Gaussian Blur. I use the Filter subtly (as you should with all filters unless you are going for a really extreme effect with an area of your artwork) so that it doesn't draw attention to itself or distract from the intent of the illustration.
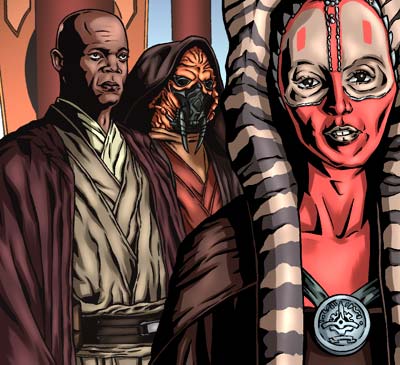
Shaak Ti Color Step 13
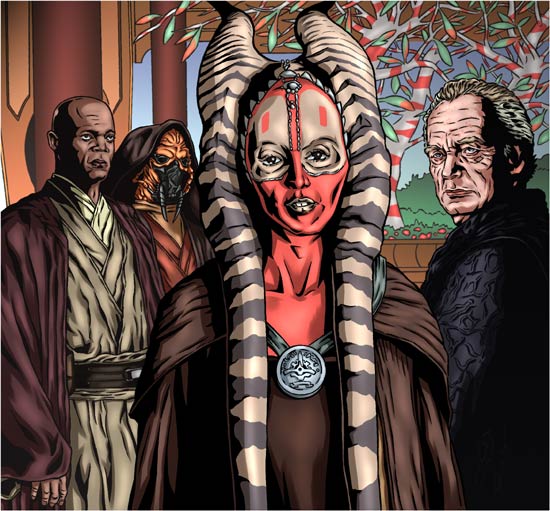
With some more final highlights, color adjusting or layering with the Color Airbrush and the final Filter effects in place I have my completed illustration.
Shaak Ti Final
I hope you enjoyed this behind the scenes look at one of my most recent Star Wars illustrations. Be sure to check out more of my latest Star Wars artwork for Lucasfilm in my Star Wars Insider gallery. And keep an eye out there for even more new artwork soon since I'm currently illustrating for new issues of Star Wars Insider. See you next week for a new Comics 101 feature!
Star Wars: Celebration Europe 30th Anniversary Limited Edition Print - Photo Reference, Finished Pencil Art, In Progress and Final Color Art and Comic-Con International 2007
Star Wars: Celebration IV 30th Anniversary Limited Edition Print - Photo Reference, Finished Pencil Art, In Progress and Final Color Art and Free Comic Book Day 2007